A Comprehensive Guide To Pressure Fermentation
Last updated: 15 Aug 2021 | 17656 Views |

Pressure fermentation is a phenomenon that has rocketed into vogue seemingly in the last couple of years. Jump on any forum or Facebook page to do with homebrewing and you will see pressure fermentation questions everywhere.
The broad facts of pressure fermentation are pretty well known by now, but still it is probably worth going over this a bit. We will take the time to go through this in greater detail, but here are the broad strokes for now.
The Advantages Of Fermenting Under Pressure
1: Virtually eliminate the risk of oxidation. You can greatly minimise the risk of oxidation. By pressurising the fermenter and using a spunding valve it becomes essentially a sealed system, with little chance of oxygen ingress. Avoiding oxygen in a finished beer is a great way to improve the final product - this is one of the main things that sets the pros from the homebrewers.
2: Closed, pressure transfers. Related to the above, once the tank is pressurised, then it makes completely closed, oxygen free transfers into the keg possible. Again, this is a brilliant way to ensure you are kegging the highest possible quality product.
3: Faster fermentations. By fermenting under pressure, you are able to ferment at higher temperatures than normal, which in turn allows for a faster fermentation.
4: Reduce Off Flavours. Fermenting under pressure reduces ester production and yeast derived off flavours, allowing for a cleaner fermentation again at higher temperatures than normal.
5: Carbonate in the fermenter. By fermenting and cold crashing under pressure, it is possible to have a beer completely carbonated by the time it is ready for transfer – now who doesn’t want that!
So, that’s great – but are there downsides?
Well, no. Not really. Not in any meaningful way. Just because you can ferment under pressure, doesn’t mean you have to. So, there is nothing stopping you from doing a normal fermentation in a pressure capable fermenter. It really does give the best of both worlds.
So, That’s All Fantastic. How Do I Pressure Ferment My Beer Then?
Simply put, you need two pieces of equipment to get started with pressure fermentation.
You need a pressure capable fermenter, and a means of controlling the pressure.
You will find you need other items – an external CO2 cylinder and regulator, for example, and some line for transfers etc.
It is important to note that while the phrase ‘pressure capable’ can apply to quite a few fermenters on the market, they really need to be capable of holding at least 2 bar (around 30psi) to be actually useful.
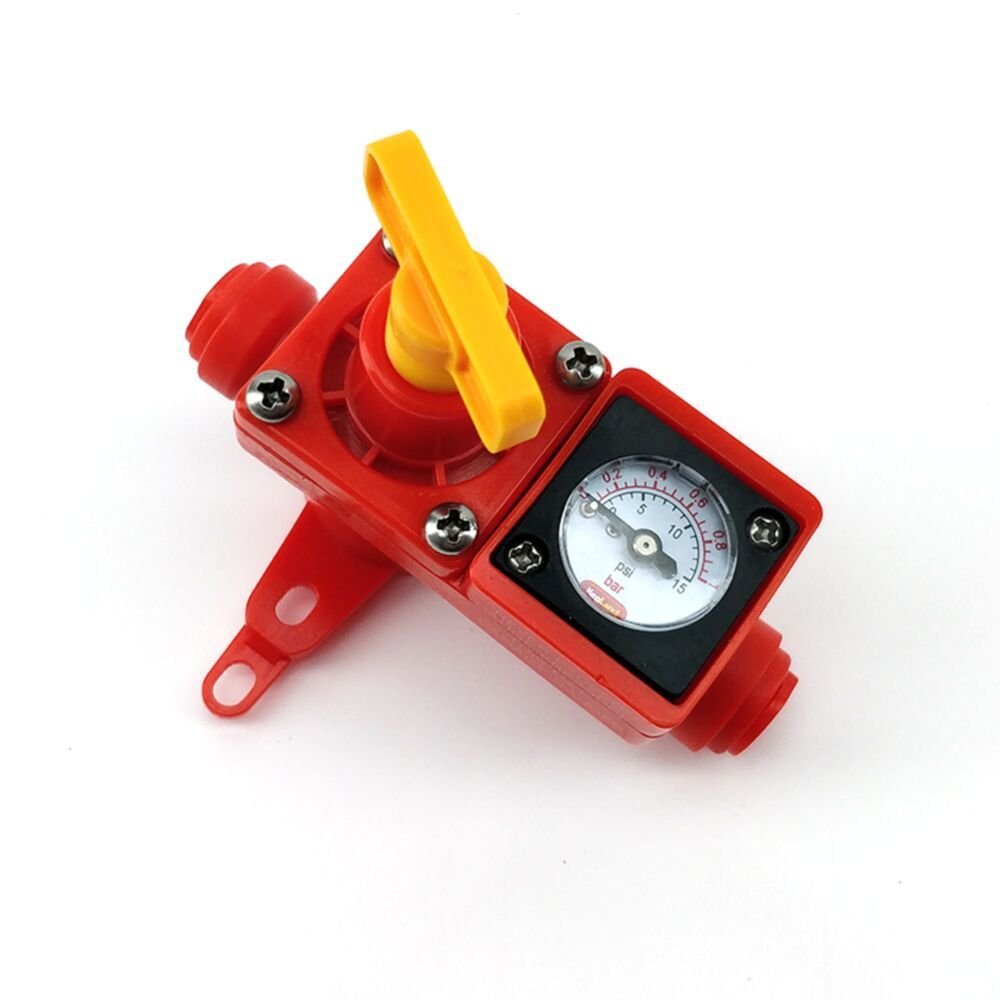
A Spunding Valve is a specialised valve that allows you to precisely regulate the amount of pressure in the fermenter (or keg for that matter). It is very important to note that although almost every pressure capable brewing tank will have a PRV (Pressure Relief Valve) it is quite important that this is used purely as the last line of defense and not as a means of regulating pressure. You can find much more information about that here.
To ferment under pressure, simply start the fermentation as normal – use either an airlock or, ideally, run some tubing from the Spunding Valve into a blowoff, which negates needing to switch out an airlock during the fermentation. In most cases, you will want to ferment as normal – no pressure and at your yeast’s recommended temperature for the first 24-48 hours. Once fermentation is underway, then simply close up the Spunding Valve until the fermenter is venting at the desired pressure.
That’s it! You are now pressure fermenting! It’s a piece of cake, really.
You can get into the wide world of pressurised fermentation quite inexpensively. At Kegland, we are very much dedicated to this, as pressure fermentation and kegging go absolutely hand in hand.
Have a look at the 30L All Rounder Fermzilla Pressure Kit – it contains everything you need bar the lines for transfer, and is quite possibly the best value pressure capable fermenter on the market.
So, Is It Really That Simple?
Well, kinda yes, and kinda no. There are actually quite a few factors to consider and weigh up here. This is the main point of this article, really. We get contacted by phone, email and Facebook from brewers who want some more information about pressure fermenter, rather than just the ‘how’.
Pressure fermentation is, essentially, just another tool in the brewer’s kit. An extremely powerful and useful too, for sure. But as with any tool, you need to know both how and when to break it out. We will cover that in more detail if you keep reading, but here is a pretty fantastic video that goes over a lot of the basics.
Pressure Fermentation. Why You Should Ferment Under Pressure.
Let’s be very clear about this.
There is no blanket rule for when you should ferment under pressure.
There are however some pretty good guidelines.
Fermenting under pressure reduces esthers and off flavours, and thus allows fermenting faster and cleaner than otherwise. This is pretty widely accepted and thus gives us two obvious uses of pressure fermentation.
Fermenting Lagers
Lagers are perfect for fermenting under pressure. As in, perfect.
Lager yeasts, as a rule, handle quite high pressures well.
Fermenting lagers under pressure allows you to ferment at ale temperatures with no ill effects. You will get a fast, clean fermentation with no off flavours.
Please note – we absolutely cannot guarantee that all lager yeasts can be reliably fermented under pressure. From experience, Lallemand Diamond Lager and Fermentis W34/70 (both dry yeasts) will ferment fast and clean at ale temperatures under pressures of up to 18psi.
The technique is quite simple.
Ideally, pitch your yeast at normal lager temperatures as recommended by the manufacturer. Anecdotally, you can pitch higher, but with almost every yeast the first 24 hours is critical in terms of yeast health and potential for off flavours.
Now, one potential negative for pressure fermentation is that pressure will inhibit yeast growth. At a home brew level that may or may not have an impact on your fermentation, but as a general rule we would not add pressure for the first 24 hours or so.
One super easy way to regulate this is to pitch the yeast and have your spunding valve set to the desired temperature. You will find that as the yeast gets underway and fermentation begins in earnest, CO2 will start to be released and the pressure from this CO2 will increase in the fermenter. This is how we start almost all pressure ferments – with the CO2 that is given off naturally.
After 24 hours, you will most likely be at or near your desired pressure, and fermentation will be well underway. It’s time to crank the temperature. As always, if you can gradually ramp the temp you will most likely get a better result. I like to increase a couple of degrees every 24 hours until the wort is at 18c. Again, anecdotally, feel free to experiment with higher temperatures.
Using this method, with Diamond Lager yeast, you can reliably have a lager completely finished in five days.
Fermenting Ales
Using exactly the procedures outlined above – so pitching at the recommended temperatures and letting pressure build up as fermentation gets underway, you can ferment ale yeasts at higher than normal temperatures and again achieve fast, clean fermentations. I would probably not push the temperature or the pressure quite as high, relatively, as with lager yeasts. Ale yeasts are typically fermented in the 8-12psi range, lager yeasts often in the 15-20psi range. Please note that this is quite a generalisation, and you should take notes and experiment with your preferred yeast strains.
The best candidates for this are clean fermenting ale yeasts. BRY 97 is a great example of an absolute workhorse that will ferment well under pressure.
We do need to talk about ale fermentations a bit more though...
Sometimes, no pressure is just the right amount.
This is pretty important.
Not all beers should be fermented under pressure.
Pressure fermentation is a tool in the homebrewers toolkit.
It is fantastically useful, but it is just a tool, and as such, should only be wielded at the appropriate time.
So, when should we not ferment under pressure?
Basically, remembering that pressure will suppress ester formation, we should not use pressure for yeast and beers where esters (and phenols, and funky yeast derived flavours) are desired.
Hazy IPAs. Belgium beer styles – Dubbels, Tripels, Saisons etc – these are the kinds of beers that are not really good candidates for fermenting under pressure.
Some yeasts do not handle pressure well either and can stall out if placed under pressure – reputedly, some saison yeasts are notorious for this, for example.
So, Pressure Fermenting. What Else Can You Do?
Now we’re talking.
Pressure fermenting needs to be seen a tool. Aas a way of adding options, flexibility and choice to the homebrewer’s toolkit.
Hopefully we have given you a basic understanding of the possibilities of fermenting under pressure. When to do so, and when to think, ‘Yeah, nah, not this time”.
But even when you don’t want to ferment under pressure having the option to do so is brilliant.
Dry hopping.
Man, so many options here.
People will go to great lengths for adding dry hops.
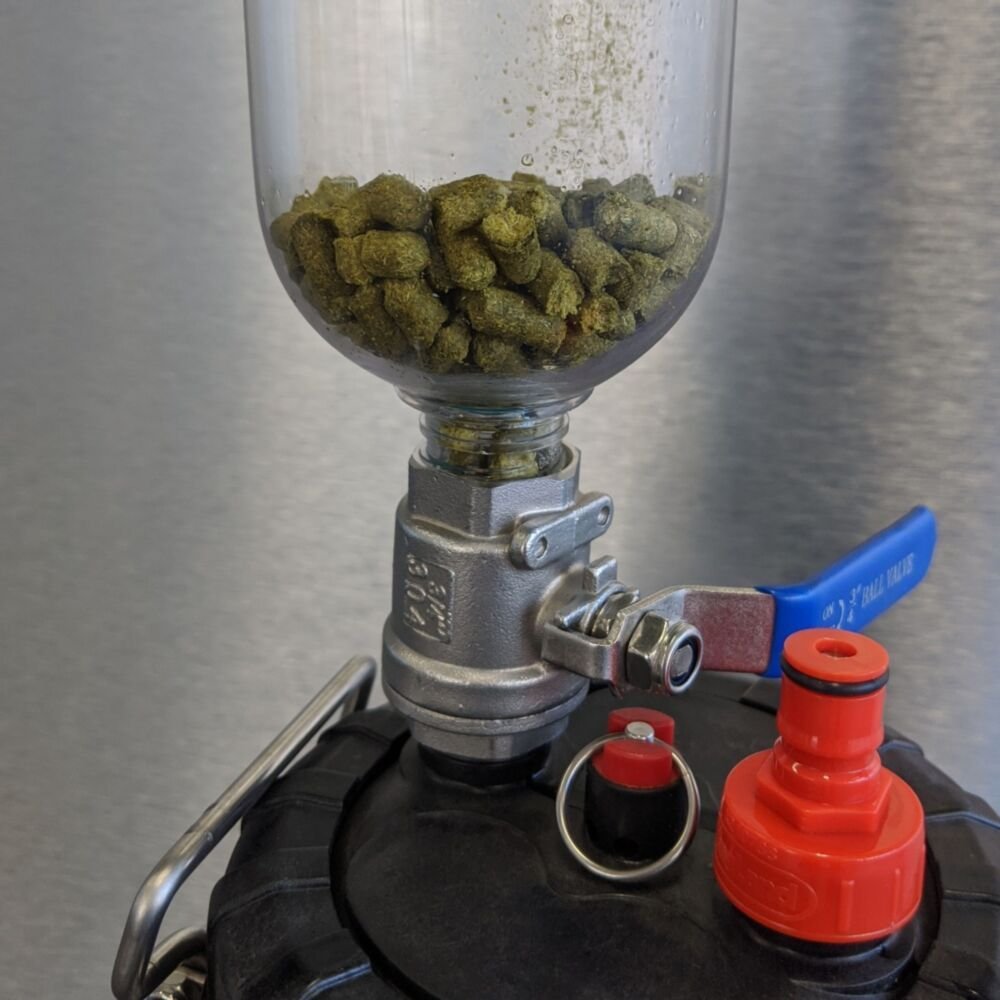
You can buy a ball valve that enables you to keep your hops in a purged vessel ready to drop when desired.
You can achieve a similar result by suspending the hops using a magnet in a hop bag, removing and dropping when needed. In both cases being able to add hops to a sealed container is hugely beneficial in terms of limiting O2 ingress, and of course you can then also purge with CO2 should you desire. Or, in both cases, use your spunding valve to allow pressure to build up to purge the tank purely from CO2 produced during fermentation. Too easy.
If you have two pressure capable fermenters (a lot of us have 2 All Rounders for this reason) you can add your hops to your second fermenter, purge the tank, seal it and pressure transfer your fermented beer onto the hops. Zero O2 ingress. Zero aroma loss. Honestly, the first time you smell a dry hopped beer made with this method it will blow your mind – I know it did mine.
You can also quite simply open the lid, chuck in the hops then purge with CO2 and seal to lock in the aroma. Simple, easy and effective.
Transferring finished beer
OK, so this is a game life changer.
Your beer has fermented out. Sitting at 10psi or so after cold crashing. Needs to get kegged.
Without opening your fermenter or your keg, you can simply use pressure to do a sealed transfer directly to the keg.
No O2 ingress. No risk of oxidation. No aroma loss. Takes about 10 minutes.
It is, in fact, a greater invention than sliced bread.
If you want to learn more, have a look at this blog post where we cover the ins and outs in quite a bit of detail.
Once your beer is transferred into a keg, have a look here for an introduction to the wonderful world of keg dispensing.
So, there you have it. Hopefully if you are new to pressure fermentation or simply wondering about it, this has helped explain the mysteries behind it.
Like many home brew tips and techniques, it can seem a bit daunting at first, but I promise you that once you get started you will never go back. As I type, I have a delicious mocha Doppelbock fermenting happily at 18°C under 18psi with Lallemand Diamond Lager yeast – I expect it to be finished and kegged 7 days after pitching, including a cold crash.
Cheers.
Happy brewing.

Related content

Home Brew Keg Dispensing - A Beginner's Guide
15 Aug 2021